The Fogue Abode: February 2017

Thursday, February 23, 2017

How I DIY with a Toddler

I often get asked the question, how do I get so many projects done with a toddler around?  This is a great question, and it's one I've not fully mastered.  Since Tuesday's post was all about Miss Aspen, let's just keep rolling and discuss how I DIY with a toddler.

Saturdays are my work days.  It's the one day a week I set aside to work on projects.  Being a working mom, it's often difficult to squeeze these Saturday tasks in.  Especially on the days where I just want to crash.  But here are just a few ways I am able to squeeze in some work time with a toddler around. 


Start with a Plan

The only way I can zip through my Saturday project is with a well thought out and organized plan.  I know exactly what I'm going to do, I know the supplies I will need and I know the plan of action.  Gathering all my supplies in my work place helps keep me in mommy's zone and out of Aspen's zone.  This usually prevents the "hold you" and "I wants" long enough for me to work.  I also attribute my successful DIY time to having a chill baby.  Aspen is great about playing or sitting and watching/talking to me. 

Centralize your Location

If I have a smaller project that is mobile, I usually barricade myself in our laundry room while Aspen plays in the family room, just like I did this past weekend while working on the time out chair.  This is the ideal spot as I can keep an eye on her while she plays.


Get them Involved

But sometimes, I have a more permanent fixture that requires attention, like when I white washed the fireplace.  I couldn't just scoot it over to my central work zone, and it was impossible to barricade off.  So I got Aspen involved.  She helped me take pictures while I worked.  I set up my camera and gave her the remote.  Aspen love's pushing buttons so it was a fun job for her.


Use those nap times as DIY time

Every afternoon after lunch, Aspen goes down for a nap.  If I can avoid getting all cuddled up with her, I can usually slip off for some DIY time alone.  This is ideal if I have a quick (and quiet) project.  Or if I'm working out in the garage on something larger.  I can just turn on our monitor and keep an eye on here while working.

Take advantage of a weekend with Grandma

And then, for those big, messy and time consuming projects like the weekend when I painted the master bedroom, I planned that around a weekend that Aspen spent at her grandparents. 


The key to successful DIYing with your tot, is all about planning.  And when our Saturday projects are done, we usually celebrate with a big ol' cup of ice cream. 


Tuesday, February 21, 2017

DIY Time Out Chair

It was just last month that we were celebrating Aspen's second birthday.  How can it be that we are already waist deep in the terrible two stage?

If you are a parent, you know how demanding this stage can be on a parent's patience.  I try very hard not to beg God for more patience in fear that this stage could get even worse.  But I do sit at night wondering what the best approach is to take with our unruly toddler.


Ok, ok.  I may be exaggerating just a bit on the unruly part.  She is great, and so much fun.  She is full of adventure.  I believe it is her sense of adventure that leads her to test my limits.  Wanting to know just how far she can push her parents.  Some evenings it is too much.  So, we sat down to devise a way to teach her right from wrong, a subject so many parents struggle with and each their own solution.


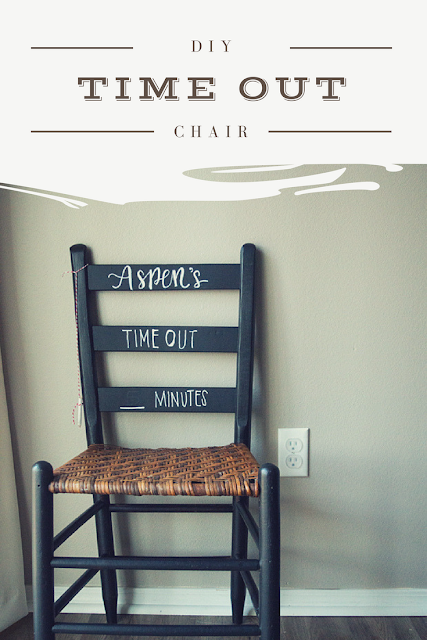
For our family, we decided to start with a time out.  When I came across this old worn out and paint splattered ladder-back chair in an old basement, I had not a clue how it would serve our family.  I brought it home anyways.  This weekend it hit me that we needed a spot to put our little timeoutee.  I gathered up my supplies and went to work on Aspen's time out chair.

After giving the chair a really good scrubbing, I grabbed a test can of Sherwin Williams Tricorn Black , flipped the chair over and began to paint just the legs on the underside. 


It's always wise, when painting a chair, to start with the underneath by flipping the chair over.  It becomes a hassle to get all the angles when it's right side up.

I chose to keep the seat the original color to give this chair a cute farmhouse look.  But I wanted to add in a little somethin-somethin for our time out chair.


I decided to give the ladder back's a spray with Rust-oleum Chalkboard Spray Paint.  Then, I took a chalkpaint pen and hand lettered "Aspen's Time Out ___ Mintues" on the back.  I wanted to help give Aspen a sense of time with her time out punishment, this way as she grows older we can up the amount of time.


As for right now, Aspen loves to draw on it with her chalk.  We shall see how the time out portion holds up. 


Do you have a sort of time out spot in your home?  I would love to hear feedback on how your children handle it. 

Thursday, February 16, 2017

We Gave Our House A Bath - Spring Maintenance Tips Part 1

This post contains affiliated links.


February is always the month we set aside to tackle our outside maintenance projects.  We love to find a beautiful Saturday and here in the south, you're bound and determined to have at least one great weekend.  That day just happened to fall on Saturday, so we dropped everything to head outside and get to work cleaning up our house and lawn.
To be honest, the yearly house maintenance Saturday(s) isn't one of my favorites.  It's pretty grueling work, but totally worth it in the end to shake off those proverbial winter blues.  As a home owner, it's also a pretty vital chore to keep everything working and in good condition.

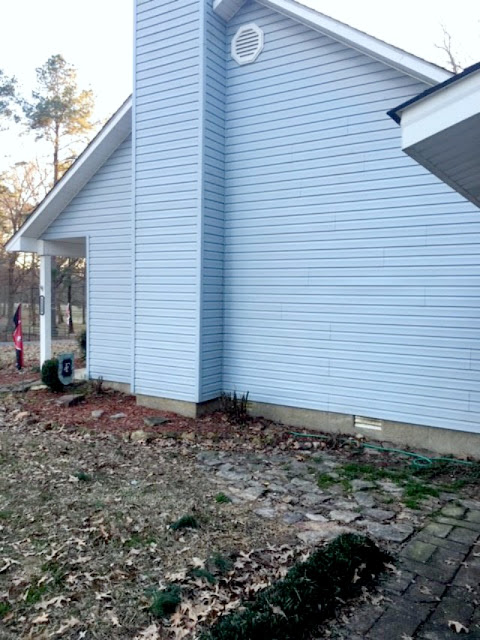
Here is a round up of what we tackled Saturday along with a printable check list to help you get your outside projects organized and checked off.  Unfortunately you get all the after shots, I'm gonna blame this one on my sweet ol' hubby for deleting the before/during pictures.


Power washed the siding
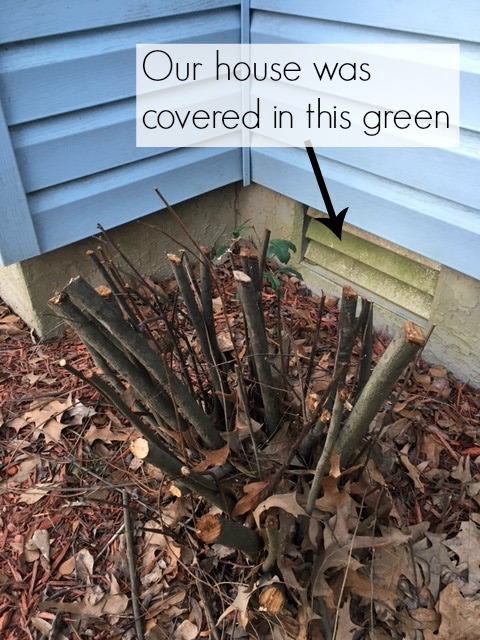
Our house is a magnet for algae/moss/mildew build up.  Especially around the bushes and hedges.  The first item we needed to check off on our spring cleaning list was to give our whole house a good scrubbing.  Or as I explained it to our handy helper Aspen, we gave the house a bath.


The best way to clean the green is to grab a scrub brush (one that you can hook a water hose to like this one) and a box of OxiClean.  The OxiClean is the key to making this chore basically effortless.  It also helps give life back to the color on our vinyl siding.  We also attacked the grungy looking doors and windows, making sure to remove the screening to give it all a good deep clean.

Once we gave the house a bath, we made sure to remove all the leaves from the eaves on our roof and the gutters and drainage system.  You missed a great shot of Chris braving the ladder, maybe that is why he dirty deleted...
Pruned bushes, hedges and trees
While Chris was bathing the house, I was busy giving it a hair cut.  Another February must for any home owner is to get those hedges, trees and bushes trimmed back.  This not only gives your landscaping a good clean/shaping, it also helps everything to grow and thrive during the  year.  My go too tools for our hedges are this trimmer and hedge shears


That checks off just a few big ticket items on our Spring Maintenance Checklist, check back next week as we finish off the remainder of the items.  Mainly the overgrowth of leaves we managed to ignore up until this point.


And if you are needing a checklist of your own, make sure to download this handy dandy printable I made for you guys.


{Download Spring Maintenance Checklist Here}


Tuesday, February 14, 2017

2017 Design Trends

This post may contains sponsored information, meaning I received a small commission or free product.  All thoughts and opinions are my own.
Hey guys and gals.  Happy Valentine's Day!!

I hope you are getting ready for an evening with your special someone?  Or, maybe it's a romantic night home?  Whatever it is, I hope each and every one of you have a grand time.


Before the fun festivities, I wanted to talk about design trends I'm seeing for 2017.  This past weekend, I was able to attend our local Home Show and there was a lot going on!  Did you see us poking around on ?  Just check out the Tub on Wheels...who doesn't need one of those!  #2017TrendAlert...I'm just kidding, but it did look like a fun time. 


Back to the subject at hand, here are five design trends I noticed while browsing through the Home Show.

Unique Lighting

Lighting is my jam and this year they didn't disappoint.  The lighting selections continue to be very industrialized as we have seen in years past.  But I noticed a variation in the metals being used.  Sconces seemed to be all the rage (loving!)  I think a few of these would make great bedside lamps.


Fun Sinks

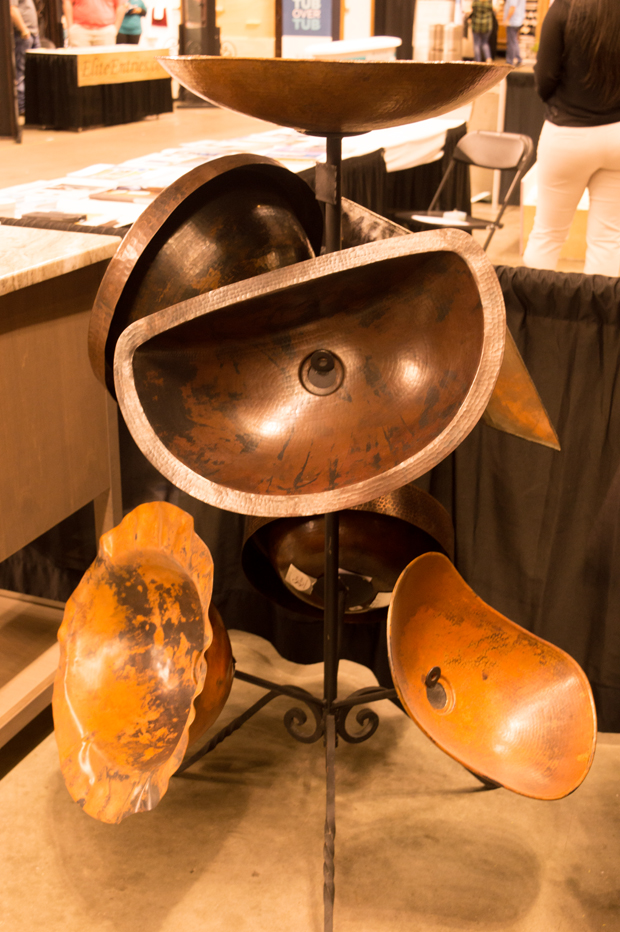
There were a ton of fun and unique sinks at this year show.  I loved all the color and shape and materials.  I noticed several stone sinks which I thought were different.  See the two on the bottom of the first picture, how cool would those look in a bathroom?  And all the yummy copper below that!


Mosaic Tile

Last year I noticed the immergence of mosaic tiles.  These are certainly a trend that's here to stay for 2017.  Several of the flooring vendors had samples.  They make such a fun piece for smaller rooms like a powder room or laundry. 


Herringbone

Herringbone seemed to be the popular pattern for 2017.  It's not new to the scene, but it's one that will remain classic.  I feel in love with this cabinet.  I really wanted to sneak it in my purse, not that it would be obvious.


Hammered Copper

I noticed so much hammered copper at this years show, mainly in the form of sinks.  I'm loving this for a farmhouse look.  They even had a razorback sink for this Arkansas fan.  Man Cave project? 


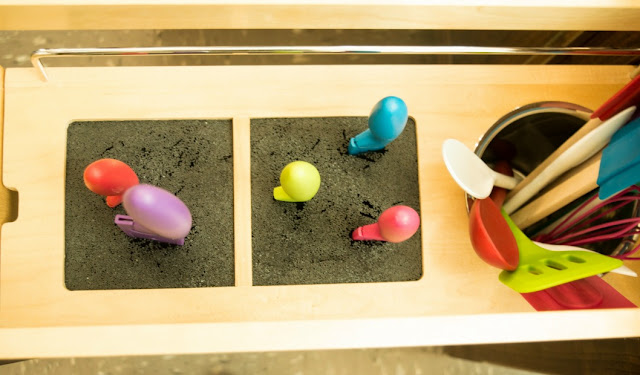
One last little nugget, I also seemed to have been drawn to the cabinet selection stands.  I spent hours testing out the different cabinet options, like how to hide your knives and spoons bins.  Pure brilliance!


Which trend are you planning or wishing to use this year?


Wednesday, February 8, 2017

Fishing You A Happy Valentine's Day DIY for Kids

One of the joys of having children is taking opportunities to have fun and be creative with them.  My little one is enjoying her time in a local daycare these days.  That means mom gets to be crafty for her Valentine's Day Party at school.


I wanted to do something this year with Goldfish Crackers, since they are Aspen's favorite.  Most of the time when I'm figuring out small gifts for kids, I always refer back to Aspen's favorite items.  After that, it's just coming up with a fun card to accompany said product.   The real trick to this year's valentine is keeping the "fishies" away from your tot until party day. 


Here is a fun and easy tutorial on creating your very own Fishy Valentine.

To create this look:
  • purchase individual Goldfish Crackers 
  • print out free printables 
  • cut out each card
  • attach to Goldfish package
 ....the end....

Happy Valentine's Day Aboders!

Download Free Printable Here


Monday, February 6, 2017

Master Not-So-Much-Of-A Disaster

This post contains sponsored information, meaning I received a small commission or free product.  All thoughts and opinions are my own.


Prioritizing home renovation projects, no mater how big or little, can be a daunting task.  Especially when your budget doesn't match your Pinterest boards. 


So is the case of our master bedroom.  Last year, I shared with you the current state of our master when we revealed it during our home tour.  This past weekend, I completed phase one of our master upgrade.


It really is amazing what a coat of paint and some new bedding will do to a room.  While I'm still waiting to get the details (and funds) of this room exactly how I envision a master retreat should look, I thought it would be a fun opportunity to try out some style trends that I'm currently loving.

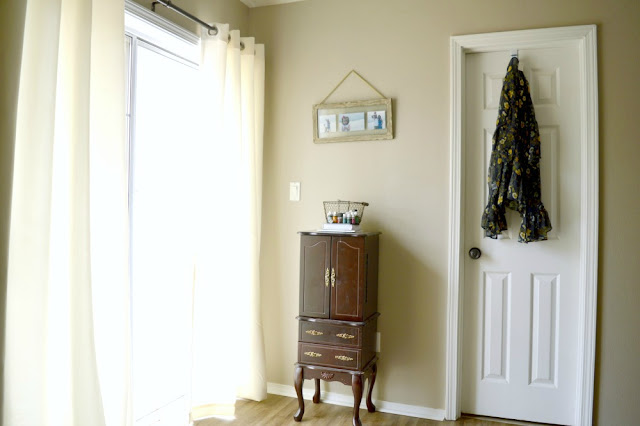
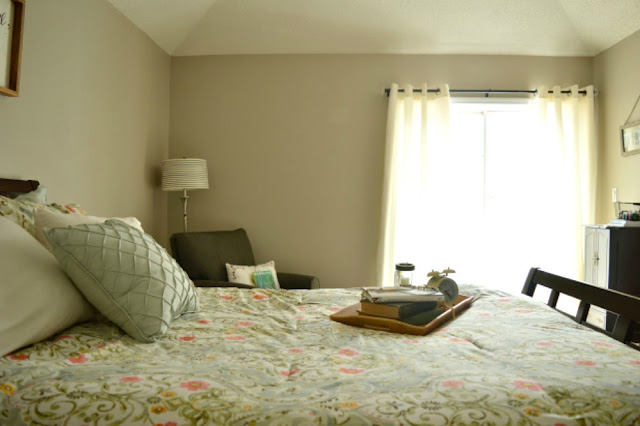
As much as I've talked about it lately, no one should be surprised that I chose a greige for the wall color.  I fell in love with SW's color of the year Poised Taupe, but felt it would be too dark for our room which had a limited natural light source.  I ended up going with a lighter shade of greige with Valspar's Packed Sand.  It really pops against the white trim, curtains and bedding, yet gives it a light and airy feel. 


Speaking of trim and curtains.  There's another inexpensive idea to updating a room's look.  We traded in the maroon curtains for this classic white.  I also got to go all granny chic with this cottage inspired floral bedding. 


We did a little adjusting to the layout of the room shifting the bed slightly to the left to accompany for a small sitting area.  I left the walls bare to give this new arrangement a good test try.


What do you think of these minor improvements to our master retreat? 


If you have layout or design issues of your own and will be in the Little Rock area this weekend, February 11-12, make sure to stop by the Little Rock Home Show going on at Verizon Arena.  I'll be there as well to take advantage of the Ask the Designer Booth sponsored by my favorite local magazine At Home.  There you will be able to get free advice on just about any design dilemma, paint selection and even furniture placement.  Plus a whole arena full of other home related booths. 

Thursday, February 2, 2017

10 Punny Valentine Cards

Hey Girl Hey! (and hey guys too)

Valentine's Day at our house is usually just another day.  I can't say it's my favorite holiday because I don't get the cheese.  Who needs overly priced flowers that will die?  Chocolate when I'm trying to eat healthier...plus I still have a bowl of Christmas chocolate that I'm hording in the pantry.  Jewelry that we really can't afford right now?  To add to all of this, I'm married to the scrooge of romance.  Sigh, it's my burden to bare.


So we don't really go all out and celebrate the day of love.  But I have come to expect a quirky little card from my honey each year.  In return I try to come up with something cute and creative to say "hey, I love you too." 

Because I love you, and my honey, I have come up with 10 punny valentine cards that will put a smile on even the scroogiest of scrooges faces.

1. For the Coffee Lover


 2. For the Pizza Lover


3. For The Italian Lover


4. For the Gum Lover


5. For the Gardener


6. For the Dog Lover


7. For the Soda Lover


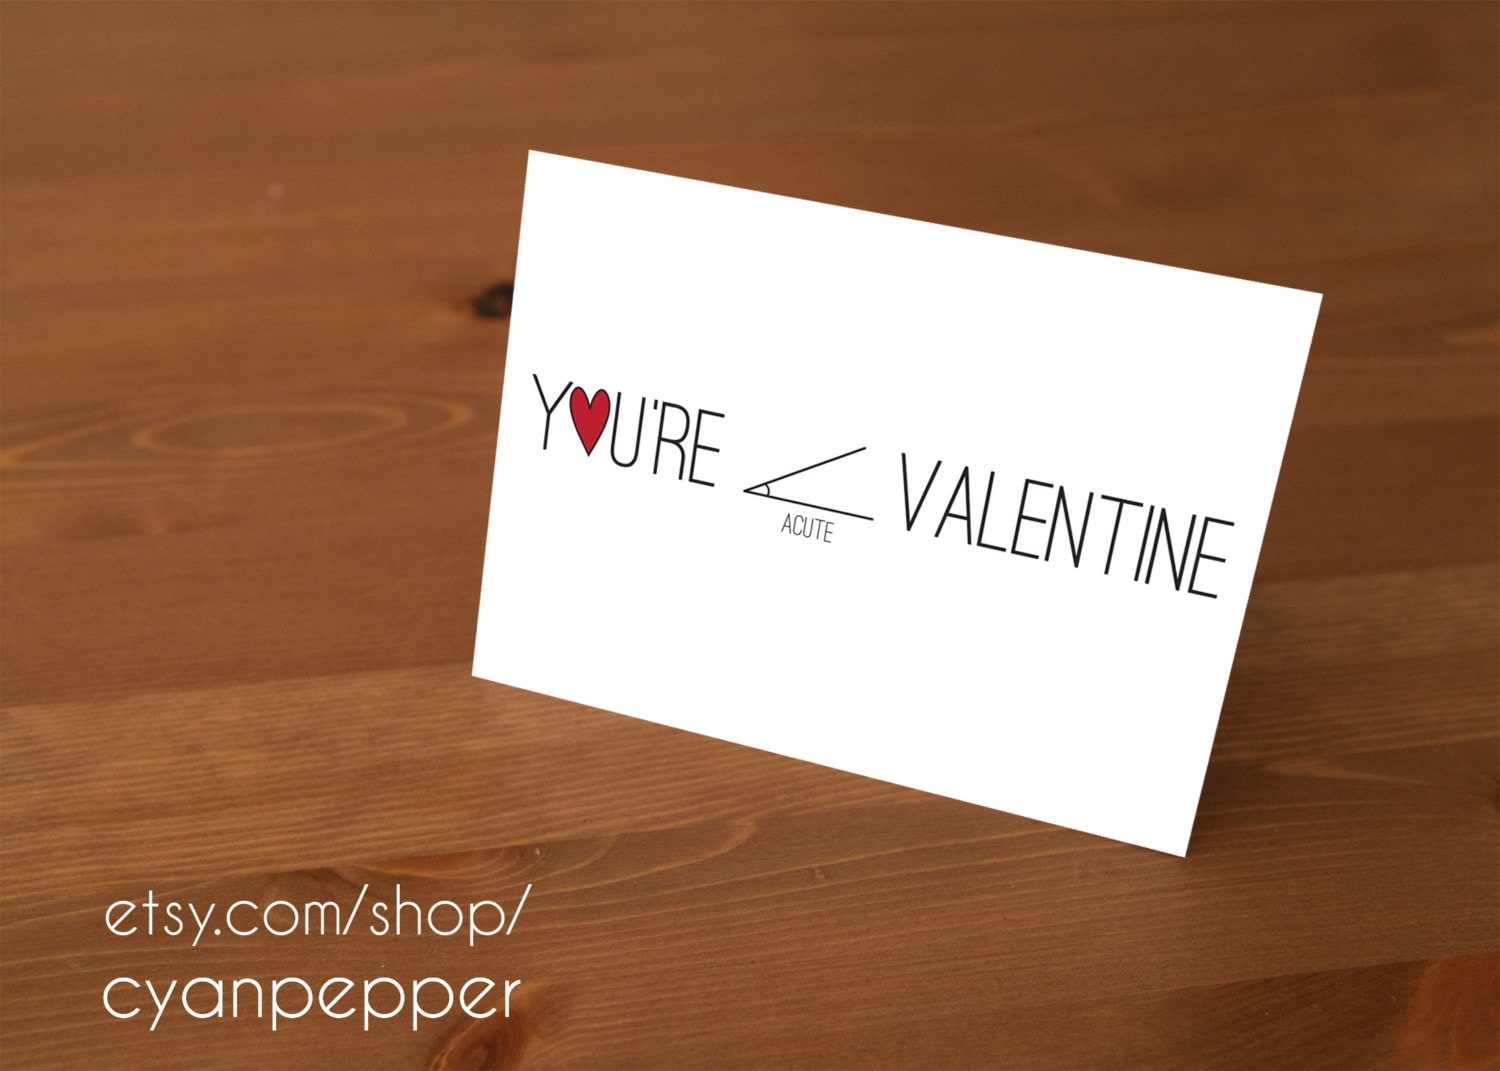
8. For the Nerd


9. For the Cheese Lover


10. For the Sci-Fi Lover


Newer Posts Older Posts Home